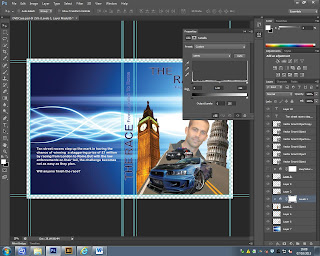
Now I have the front of the case done I now can start
editing the layers if necessary. The first thing I am going to be doing is by
using the level function I will brighten up the image of Big Ben. Down below is
how I do this:
So first of all I select the layer that has the image of Big
Ben on and then I go to the adjustments tab at the top on the right hand side
and then click on the ‘levels’ icon.
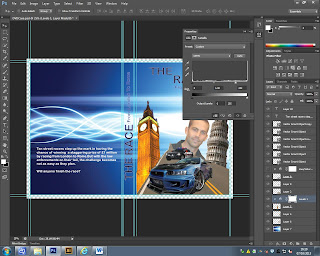
After clicking on the level icon
it then appears with a box where I can then start altering the levels of the
image. Also I can change the presets and the colour mode to However for this
instance I will be keeping the preset as default and keeping the colour mode to
CMYK as I want to keep the colours the same as there are now on the im age
however I will alter the level to ensure that the image just gets a little
brighter.

I click on the icon with the box and the arrow pointing down
so that when I start altering the levels that it only alters the image for Big
Ben and therefore doesn’t affect any other parts of the front cover.

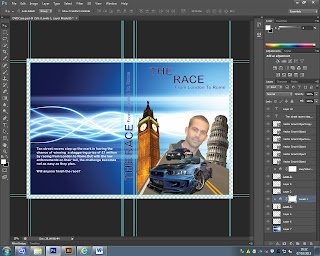
I then play around with the
levels until I have found the level that I am happy with and the brightness I
want to have. I chose to have the level
202 as it illuminates Big Ben really well and makes the building stand out on
the front cover.
Before

After


No comments:
Post a Comment