Making the speedometer
Above
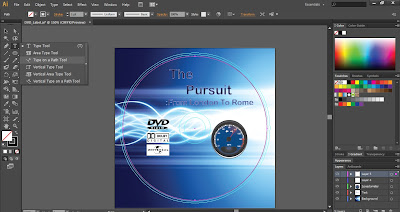
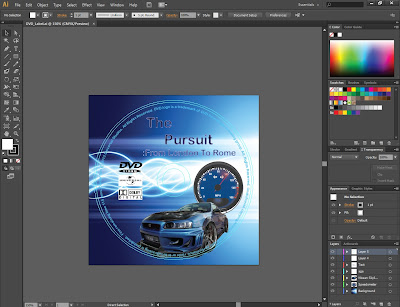
is the finishing vector image of a speedometer which I created myself. Down
below are the steps that I took in order to complete this.
Step 1:
First
of all I open up a new page within Adobe Illustrator.
Step 2:
I
then go to the rectangle icon on the left hand side panel and go down to the ‘Ellipse
Tool’ as this is the tool that I will be using due to me needing circular shapes.
Step 3:
I then draw out a circle in
which I need for the back of the speedometer.
Step 4:
I then use the gradient option to select the gradient
colours that I wish to have.
Step 5:
I then use the ‘Ellipse
Tool’ again to draw another circle but this time makes the circle a little bit
smaller than the first one and place on top.
Step 6:
I
then choose the colour I wish to have this circle.
Step 7:
I then repeat the previous
step again and this time ensure that the circle is smaller than the circle
before and place on top.
Step 8:
I
then choose the colours that I wish this circle to have.
Step 9:
I then make another circle
however make the circle look more like a semi- circle and then place on top of
the circles.
Step 10:
I
then fill in the shape with the colour that I wish to have
Step 11:
I now going to start
creating the dials for the speed on to the speedometer, to do this I need to
use the ‘Rectangle Tool’.
Step 12:
I
then create the rectangle shape and need and fill in the shape with white as
this will make the dials stand out on the speedometer.
Step 13:
I
then copy and paste the rectangle I have previously created and rotate to the
positions I would like to have them on the speedometer.
Step 14:
I then copy the rectangle shape again however this
time I cut it down to make a square and place in between of the larger
rectangles.
Step 15:
I then repeat the previous
step until I have all that I need.
Step 16:
I
have nearly finished the dials for the speed but now I just need to finish off
by adding the final dials but this time I need to use the ‘Line Segment Tool’
as the rest of the dials are lines.
Step 17:
I then create a line in a
position I wish to have it.
Step 18:
I then copy and paste the
line and add the lines to where they need to be allocated on the speedometer.
Step 19:
I then change the last few dials
to red as this is where the highest speed dials will be allocated.
Step 20:
Now that I have successfully
created the dials I now need to add the speed numbers on to the speedometer.
Step 21:
Before
I start to type out the numbers I firstly change the font type to ‘Arial’, I am
using ‘Arial’ because this will make the numbers clear and stand out and plus
makes the speedometer look more professional too.
Step 22:
Secondly I then also ensure
that the text is bold as well as this will help the numbers stand out on the
speedometer.
Step 23:
I then type out one of speed
numbers onto the speedometer.
Step 24:
I
then go to ‘Effect’ and down to ‘Stylize’ and then across to where it says
‘Outer Glow’. I am adding a glow to the speed numbers to add a bit of realism
into the image.
Step 25:
After
clicking the option a box appears in which allows me to be able to select to
type of mode I wish to have, the colour of the glow, opacity and the blur.
Step 26:
In
this instance I keep the mode the same as this is the type of mode that I wish
to have for the speed numbers, I then select the colour white for the numbers
to ensure they stand out from the blue background. I also keep the opacity the
same as this doesn’t need changing and the blur I have as 1.76mm as this gives the number a
nice gentle white glow and also acts on the realism that I hope to get.
Step 27:
I
then copy paste the number and add the other speed numbers that I need to have
on the speedometer.
Step 28:
Now
that I have all the numbers placed on the speedometer. I am now going to make
the dial that moves across the speedometer. So I use the ellipse tool again and make small circle and place into the center.
Step 29:
I then use the ‘Ellipse
Tool’ again but this time I make the shape more oval and more looking like a
needle.
Step 30:
I then copy and paste the
shape I have just previously created and resize the shape to make it smaller
and I change the colour.
Step 31:
Now
that I have completed the dial, I am now going to add the indicator arrows in
which will help make the speedometer professional. To do this I firstly go to
the right hand panel and go to the symbol icon.
Step 32:
After
clicking on the icon it then opens up a box where you can select the symbol you
wish to have but in this instance the symbol I need isn’t automatically there
so I click on the icon at the bottom left hand corner of the box in which then
will open the symbol library.
Step 33:
Once the libraries have
appeared I then go to and click on the section of ‘Arrows’.
Step 34:
Another
box then appears of a variety of different arrow styles that you can choose
from. The arrow that I choose is ‘Arrow 26’ as this arrow is simple and is the
arrow shape that I need.
Step 35:
After clicking it then
appears in the first box that appeared after clicking on the ‘Symbol’ icon, I
then click the symbol again to add it to the page.
Step 36:
I then resize the arrow and
make the arrow have a white outline around the shape again to help it stand out
on the speedometer. I then copy and paste the arrow and rotate the arrow till
both arrows are aligned with one another but facing the opposite direction.
Step 37:
I then copy one of the
numbers that I had made previously and edit it to say ‘MPH’; I did this to
ensure that the idea of realism is still there. Also I add a speed on to the
black shape.
Step 38:
Now I am going to add an
effect to the dial to make it look like it is moving. To do this I firstly go
to the pen tool allocated on the left hand side panel.
Step 39:
I then make a triangle using
the pen tool and fill in the shape red.
Step 40:
I then move the shape next
to the dial and then copy and paste the shape to make a smaller version.
Step 41:
Now that I have the shapes I
need next to the dial, I then need to add the moving effect. To do this I go to
‘Effect’, down to where it says ‘Blur’ and then across to ‘Gaussian Blur’.
Step 42:
After
clicking on the option I wish to use, a box then appears in which allows you to
be able to select the radius of the blur. The radius that I have selected is
15.2 as this gives a nice gentle blur to the shapes and will ensure to give
that moving effect that I want to have on the speedometer.
Step 43:
I
then do the same to the other shape.
Step 44:
The
speedometer has then been successfully created and is ready for later use on the DVD label.


